
When I looked at the simple red ornaments I bought this year to avoid exploring the box, I thought that it was a bit frustrating not to have all the pretty vintage decorations that I found with love.
Nostalgic, I pulled out the photos I took last year… and then, a revelation. I took out the glitter and glue with the intention of making vintage style balls myself. Do you follow me?
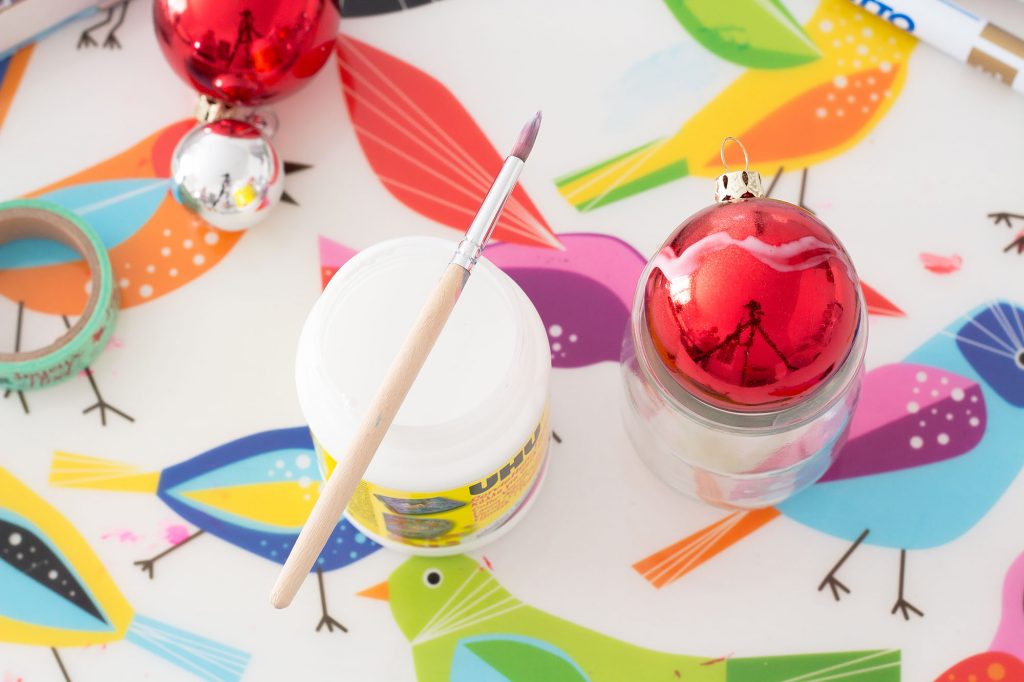
You will need :
- smooth plain baubles
- napkin glue
- masking tape
- Giotto or Posca type markers
- two brushes
- a protection for the table
- small pots to put the balls

For the first bauble, take a brush and apply glue. The advantage of the napkin glue is that it becomes transparent as it dries.
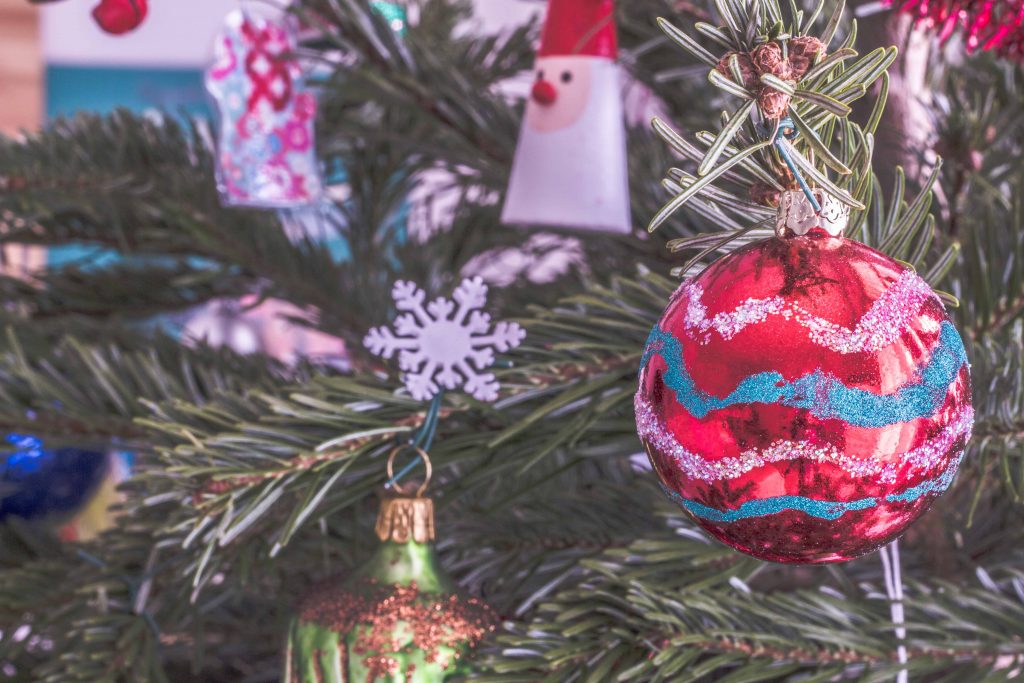
Before the glue dries, sprinkle glitter on top and let dry before making the other lines.
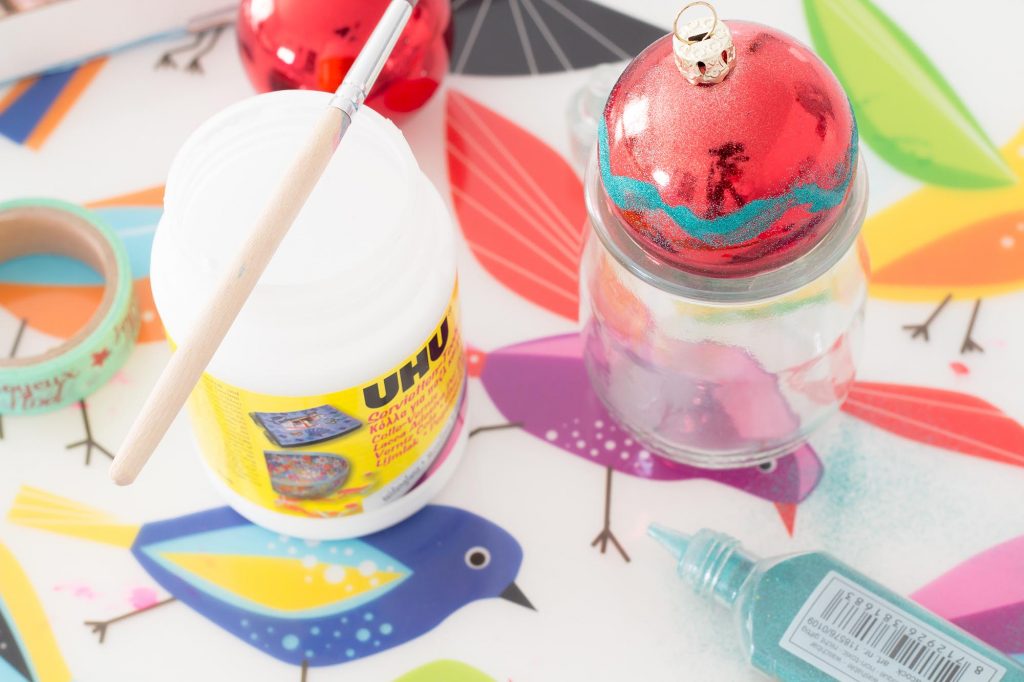
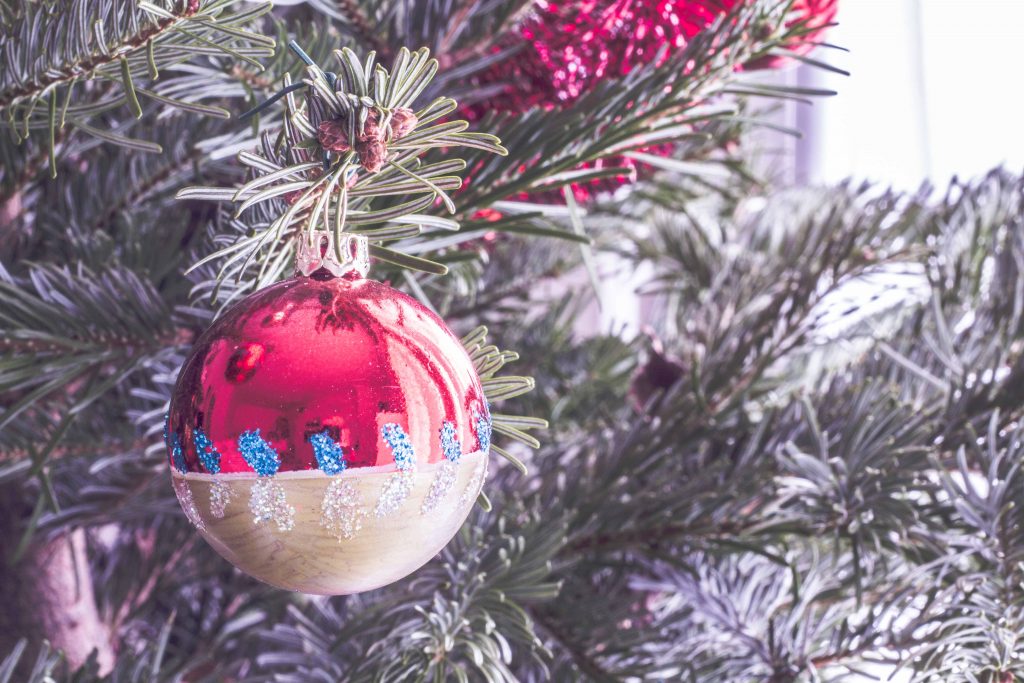
For the second ball, I applied masking tape to make a clear demarcation and colored the bottom half of the bauble with the gold marker.

Let dry between each step. For the pattern, I was inspired by my baubles (you can see them here), but you can let your imagination run wild.

When it’s dry, remove the excess glitter with a brush and hang your balls.
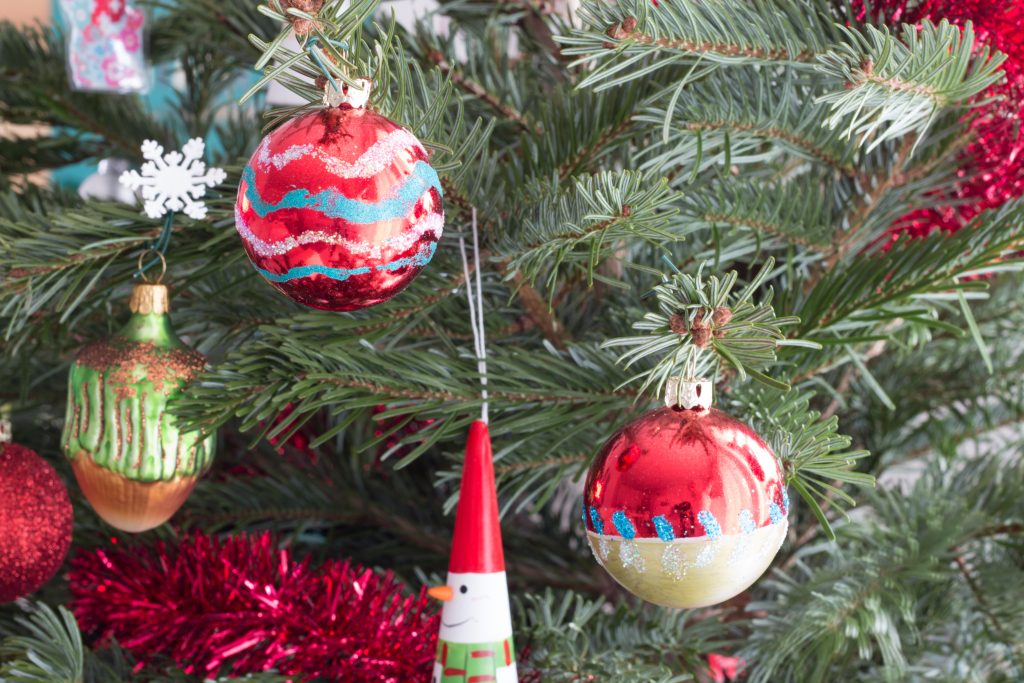
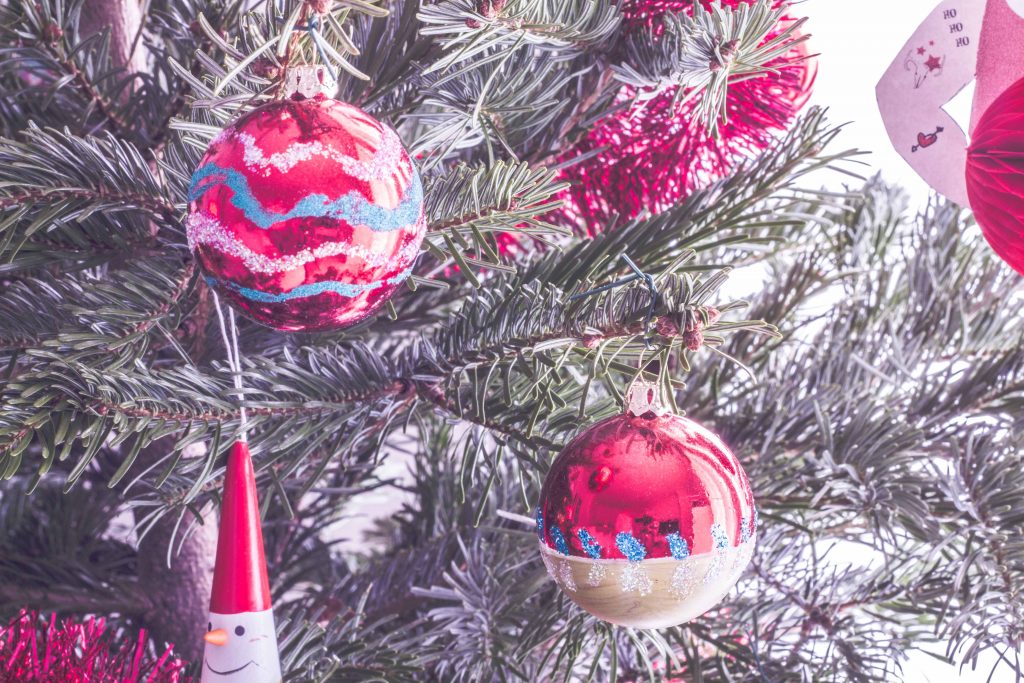
So? Don’t they look as vintage as the originals?
Are you a fan of vintage ornaments too? Or does it just make you feel a little blue?
And if you love vintage decor, my printables from last year are still available for download over here.
Slowly, our tree is starting to be well decorated thanks to our crafts. More to come… see you soon!