
Hello,
Here’s a new Easter printable with an animal I haven’t used yet: the chicken. To tell you the truth, I have been working on this printable for three weeks
I was really planning to do it in advance this year, but the covid came by and knocked us out. My brain was very foggy and I couldn’t think straight. Anyway, take care of yourself because this virus is tough.
Let’s stop chatting, here comes the DIY!
To make this DIY you need :
- the printable’s file (2 files to download at the bottom of this post)
- thick paper and printer paper
- scissors, glue, cutter
- don’t forget chocolate eggs!
Print the first file : the first two pages on a thick paper and the others on printer paper.
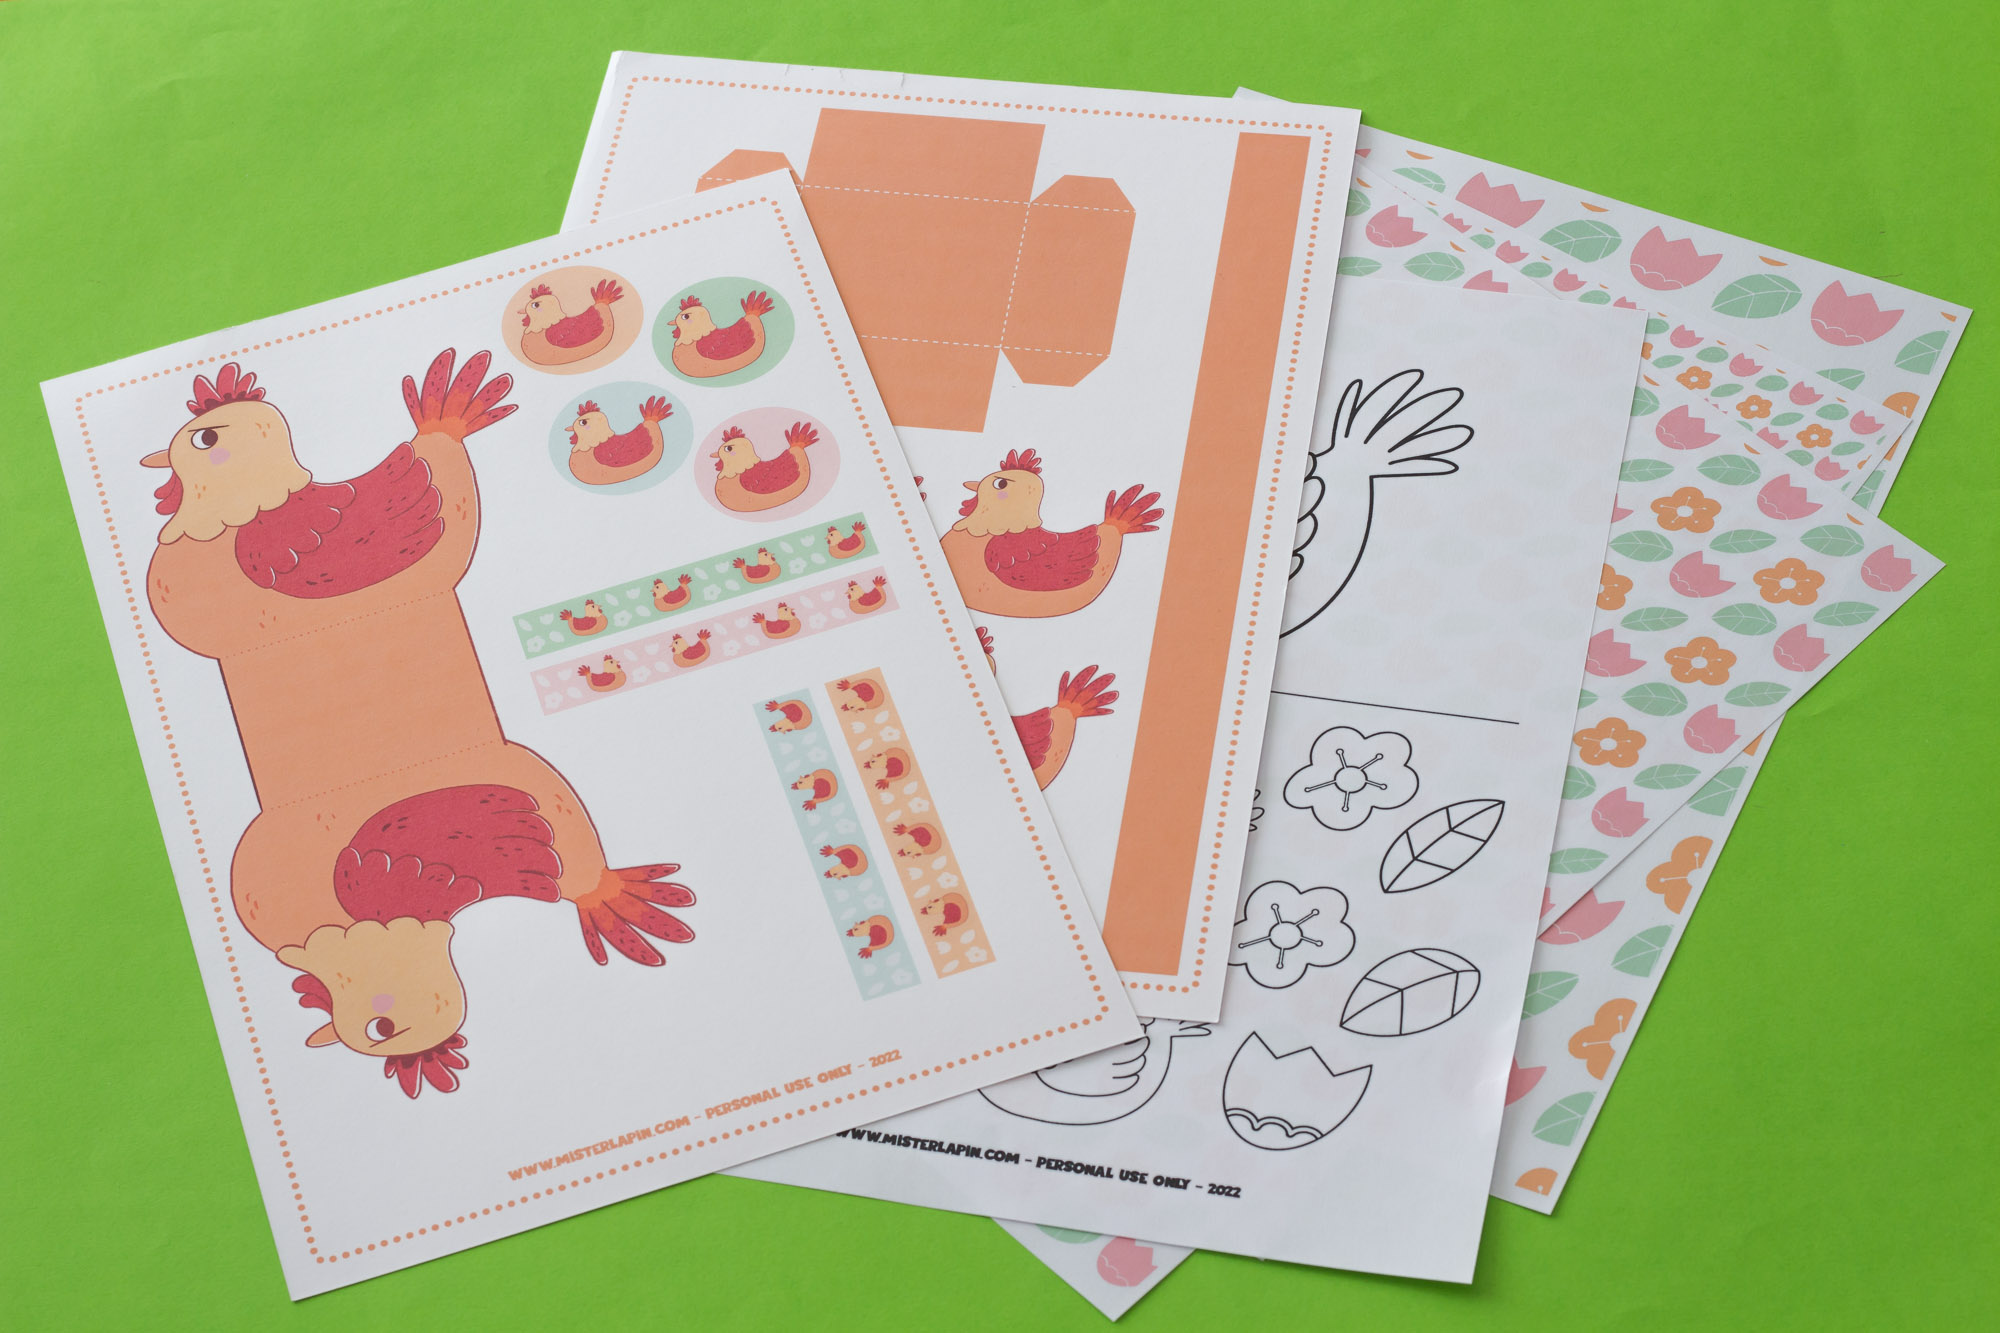
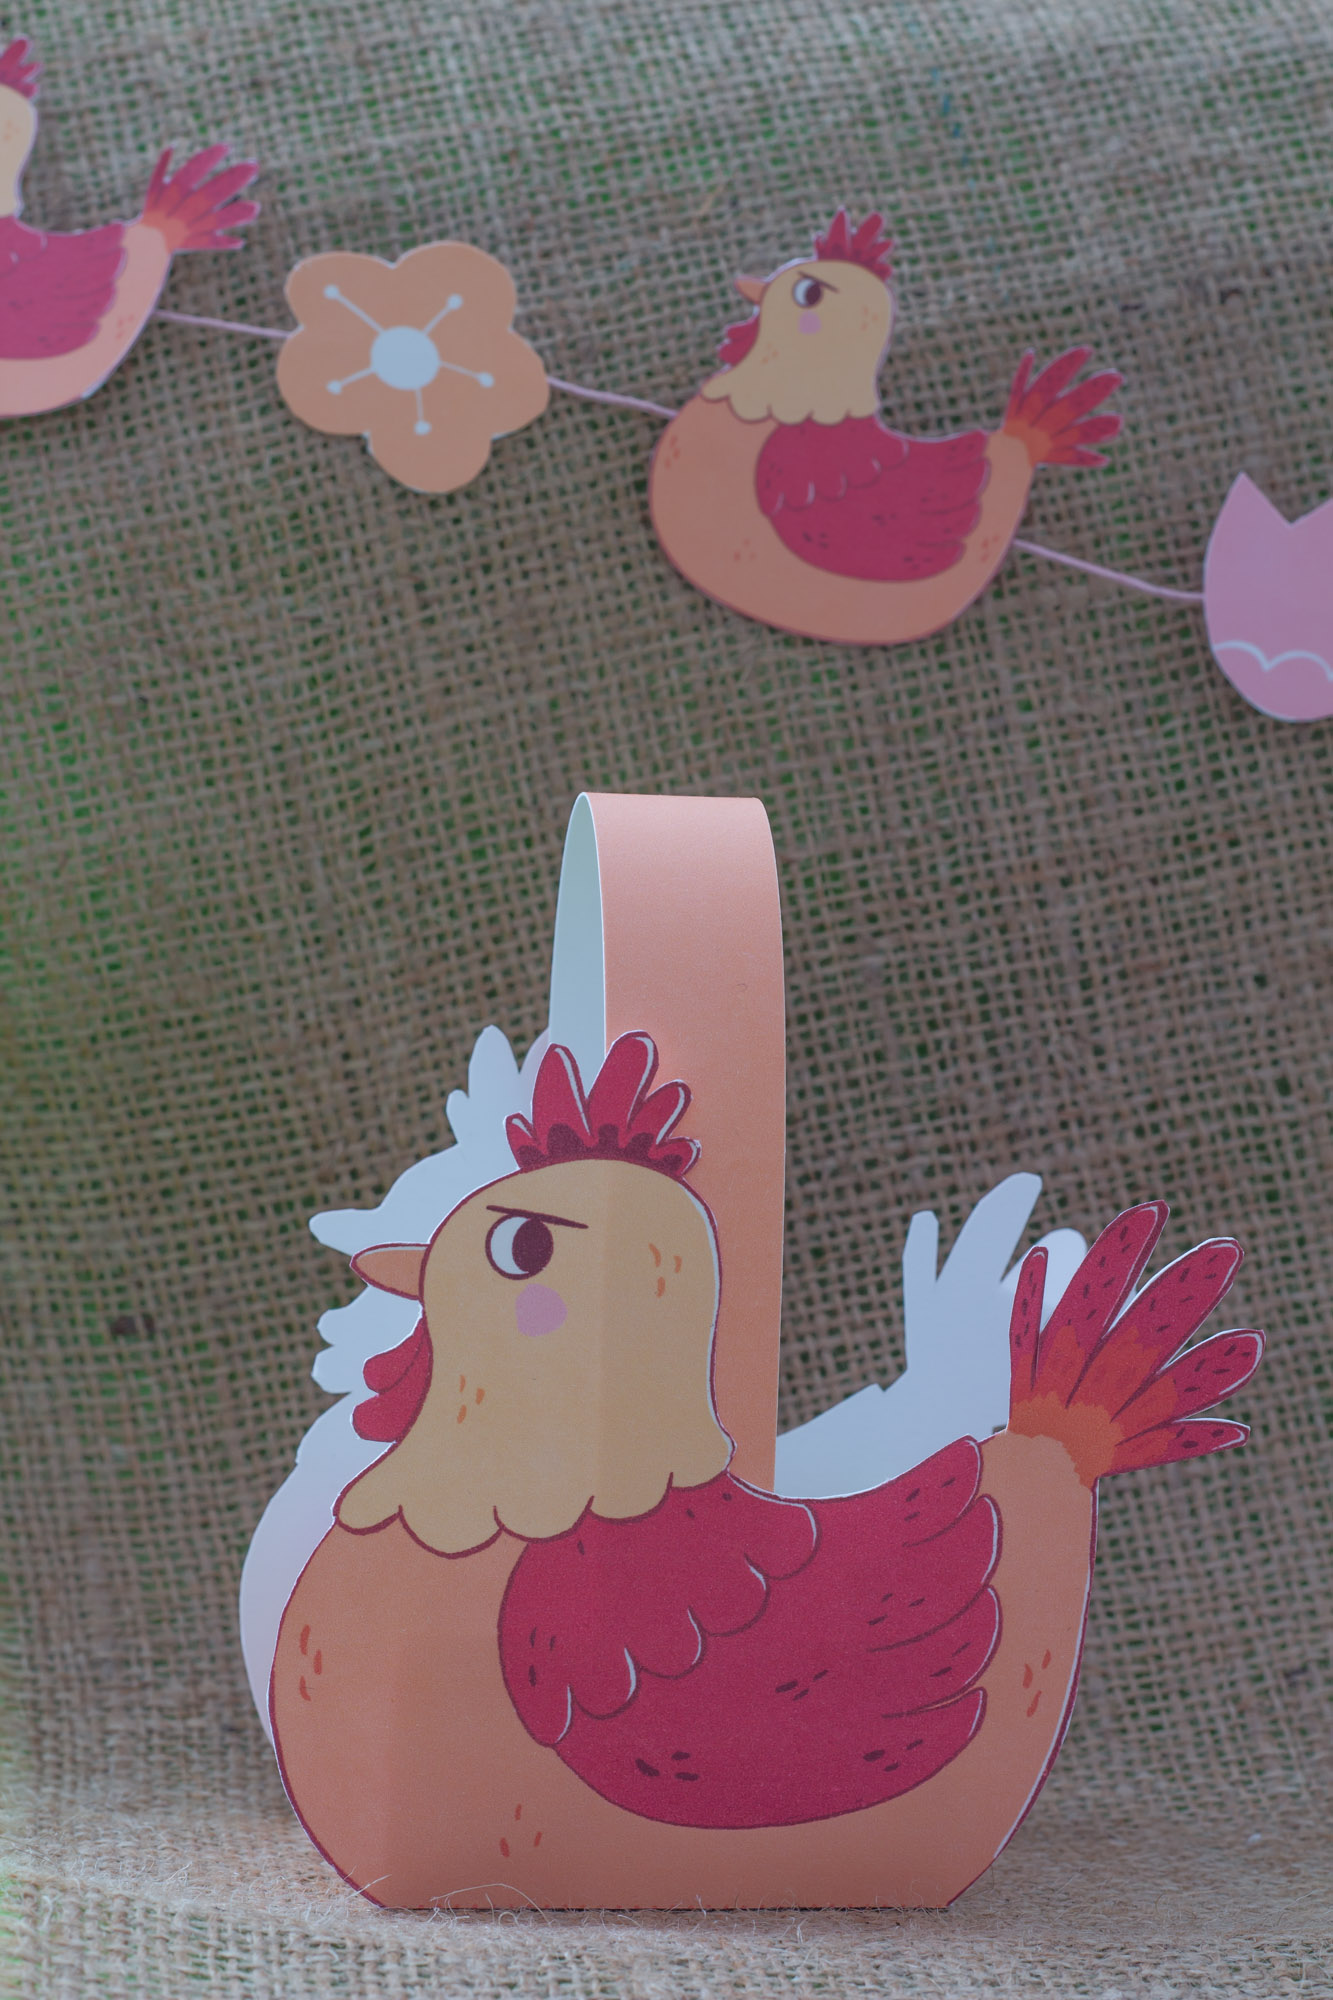
We will start to make the basket : cut the different elements on the first and the second page.

Fold.

Glue the basket.
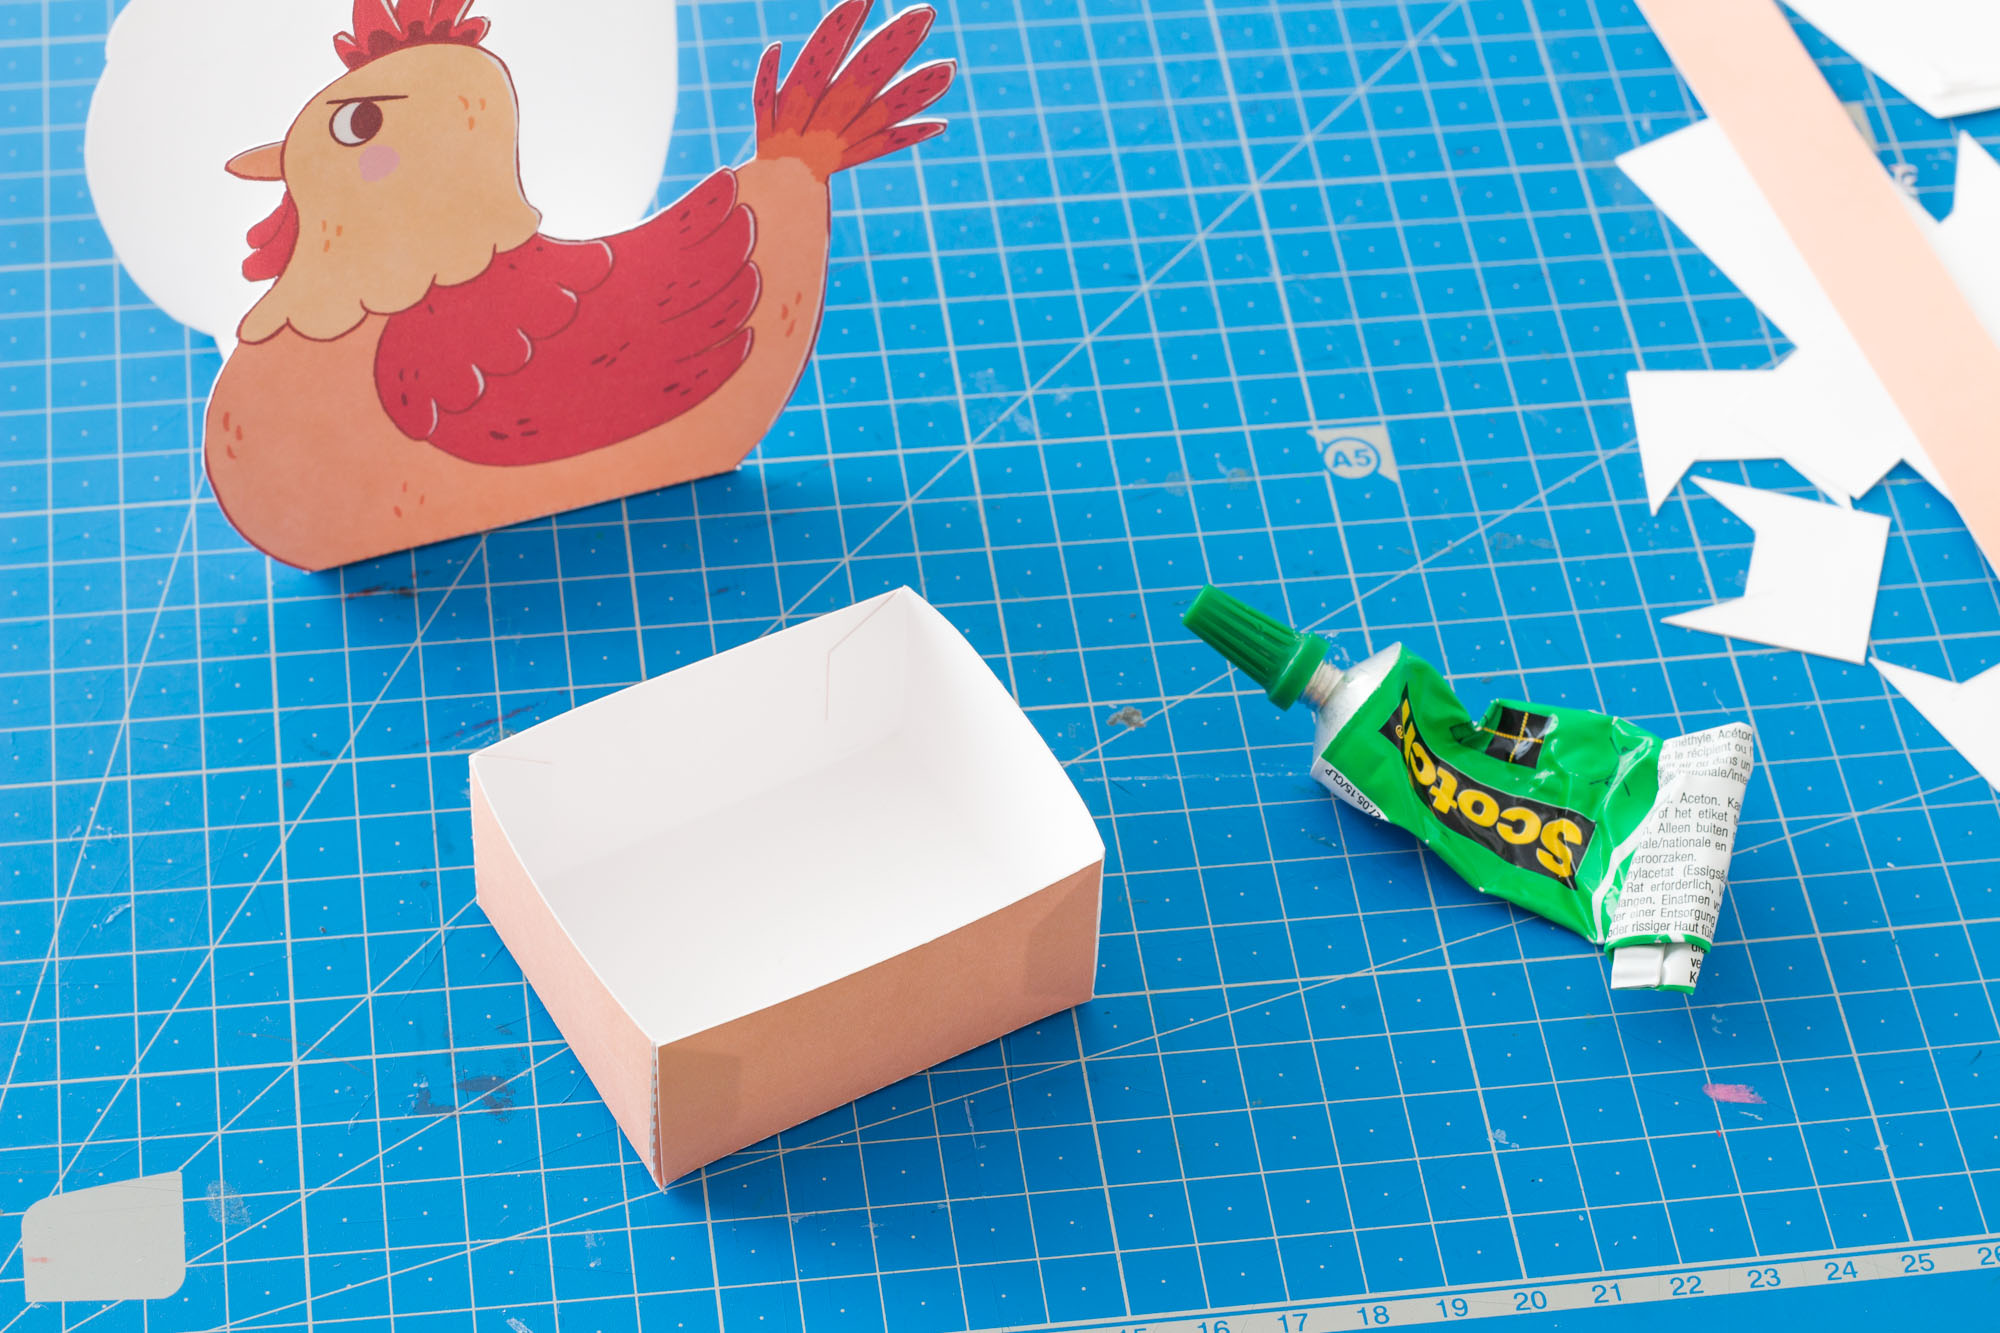
Put glue on the middle part of the chicken and glue the box on top.


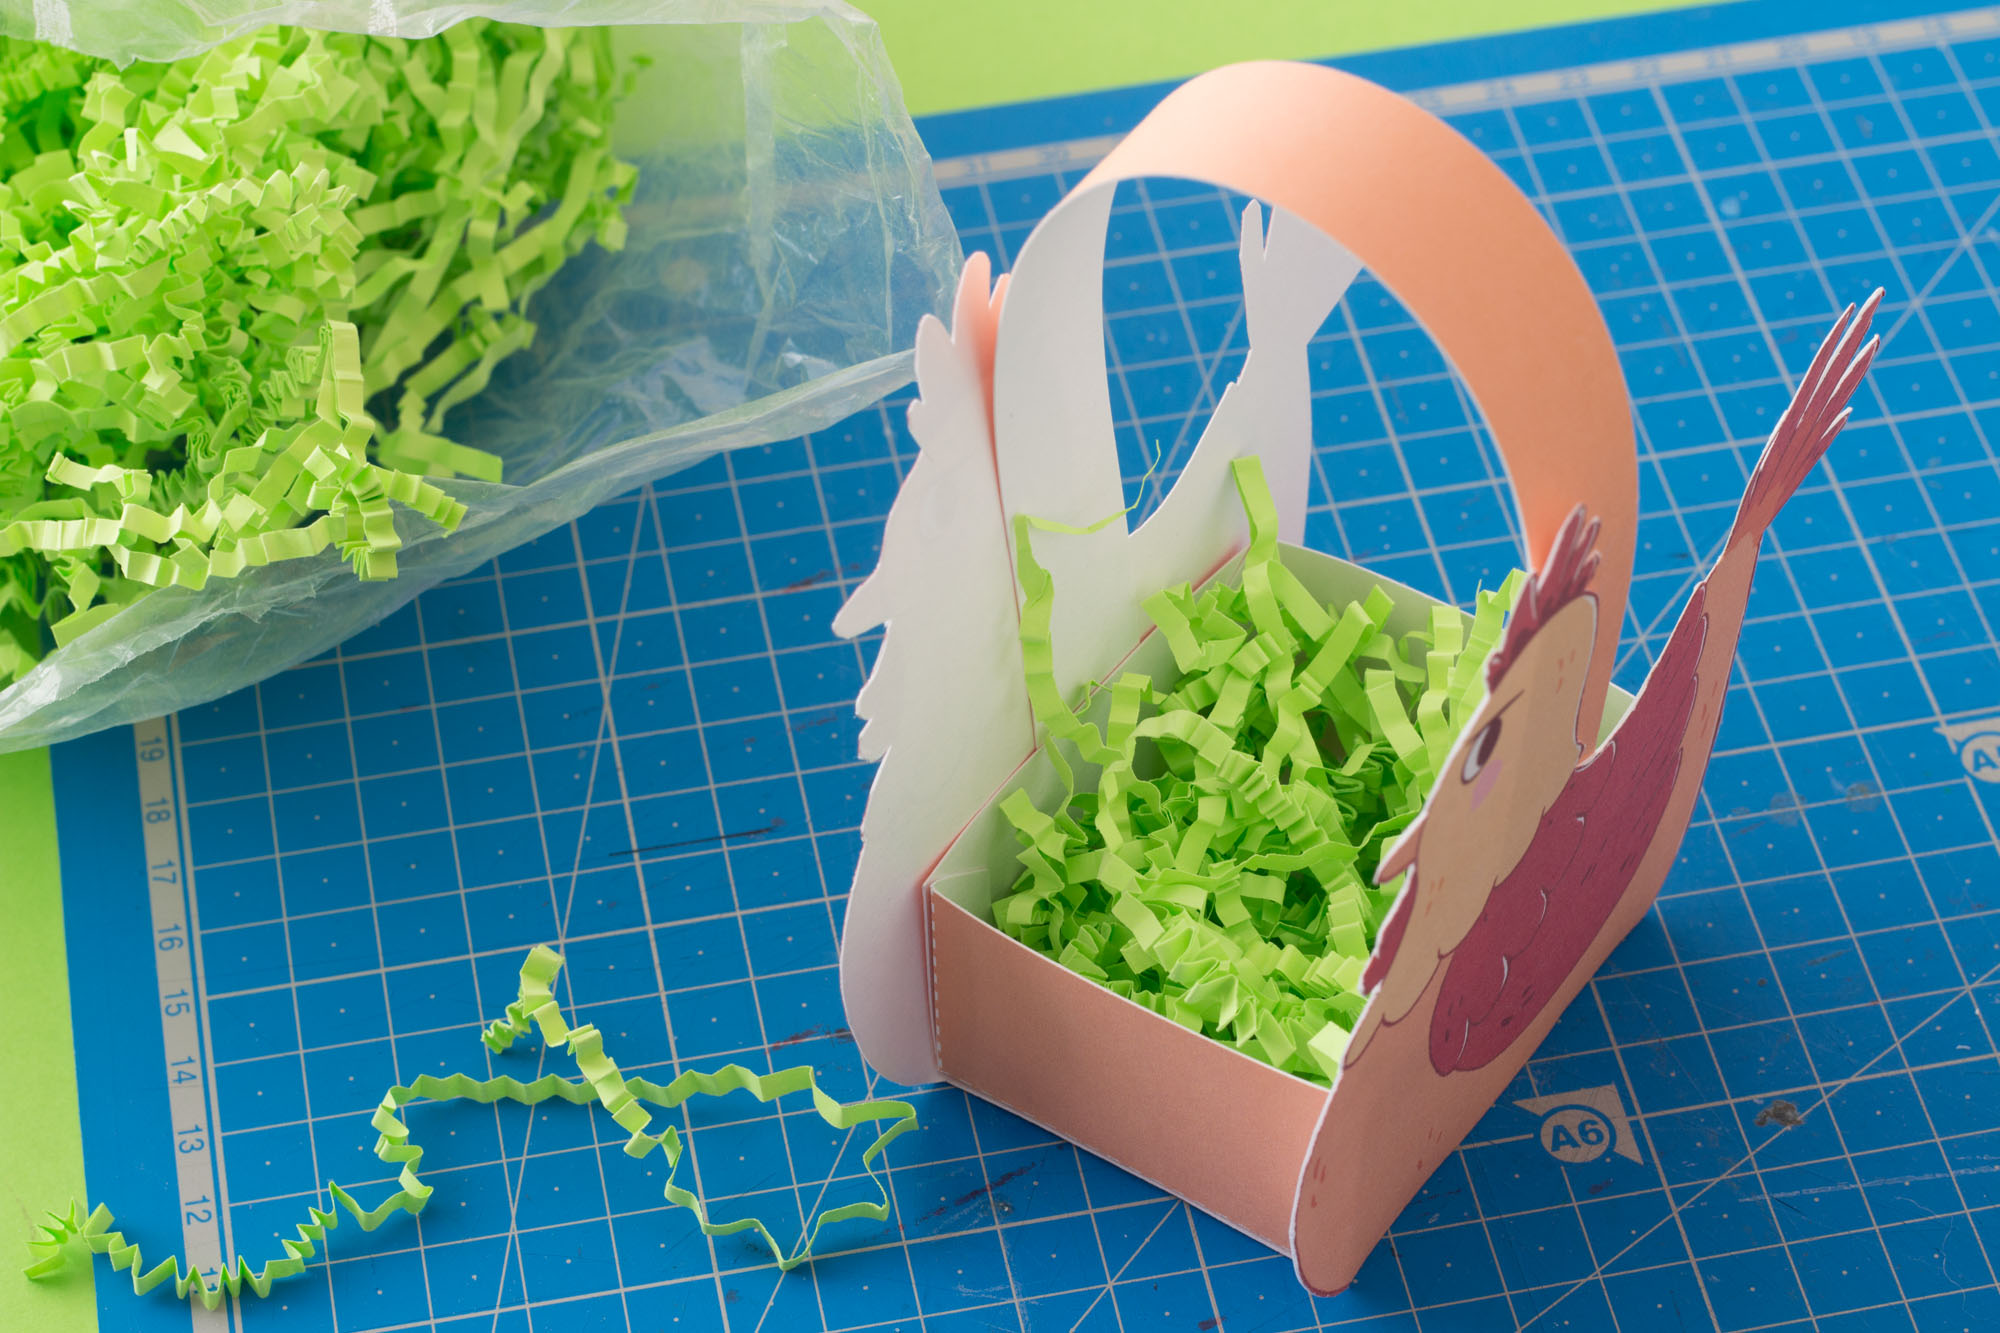
Glue the basket handle to the long sides of the box.

Apply glue to the long sides of the box and fold the two chicks over to stick them on.


Fill the basket with straw and put eggs on top. Of course you can put whatever you want in the basket, I won’t come to your house to blame you!

Let’s move on to the garland. It’s very simple: you cut out the elements and attach them to a string with masking tape.

The other elements of the cardboard sheets can be used to decorate bags of chocolates

You can use the patterned pages (printed on thin paper) as gift wrap and create packaging.

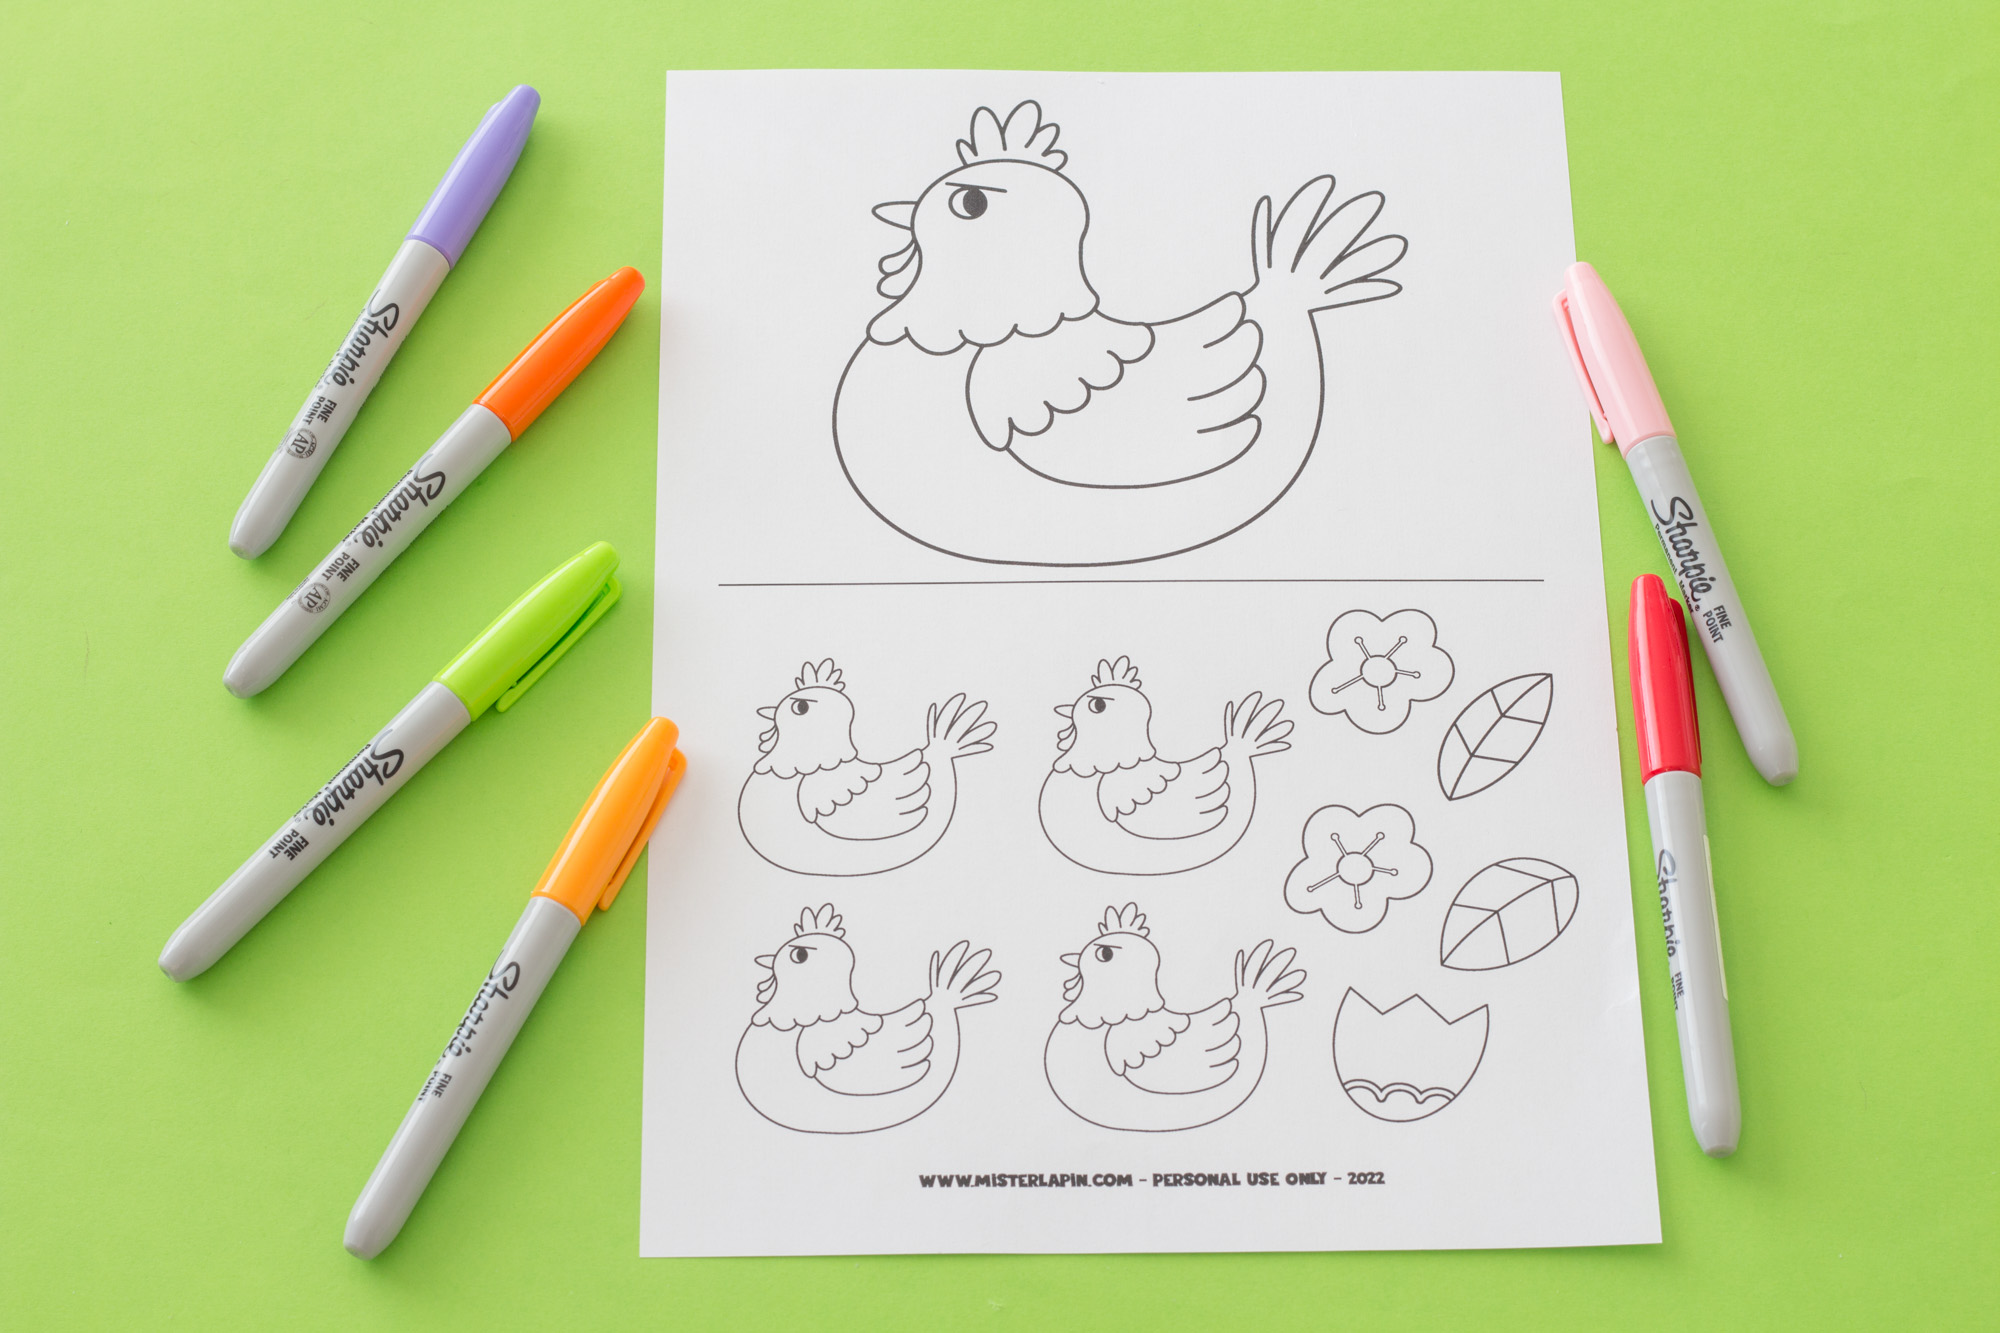
As I’m super cool, I thought of the parents who would like to keep the over-excited kids busy before the egg hunt. In the file you will find a colouring page. The bottom part of the page contains elements that the kids can cut out to make a garland that they have coloured themselves.
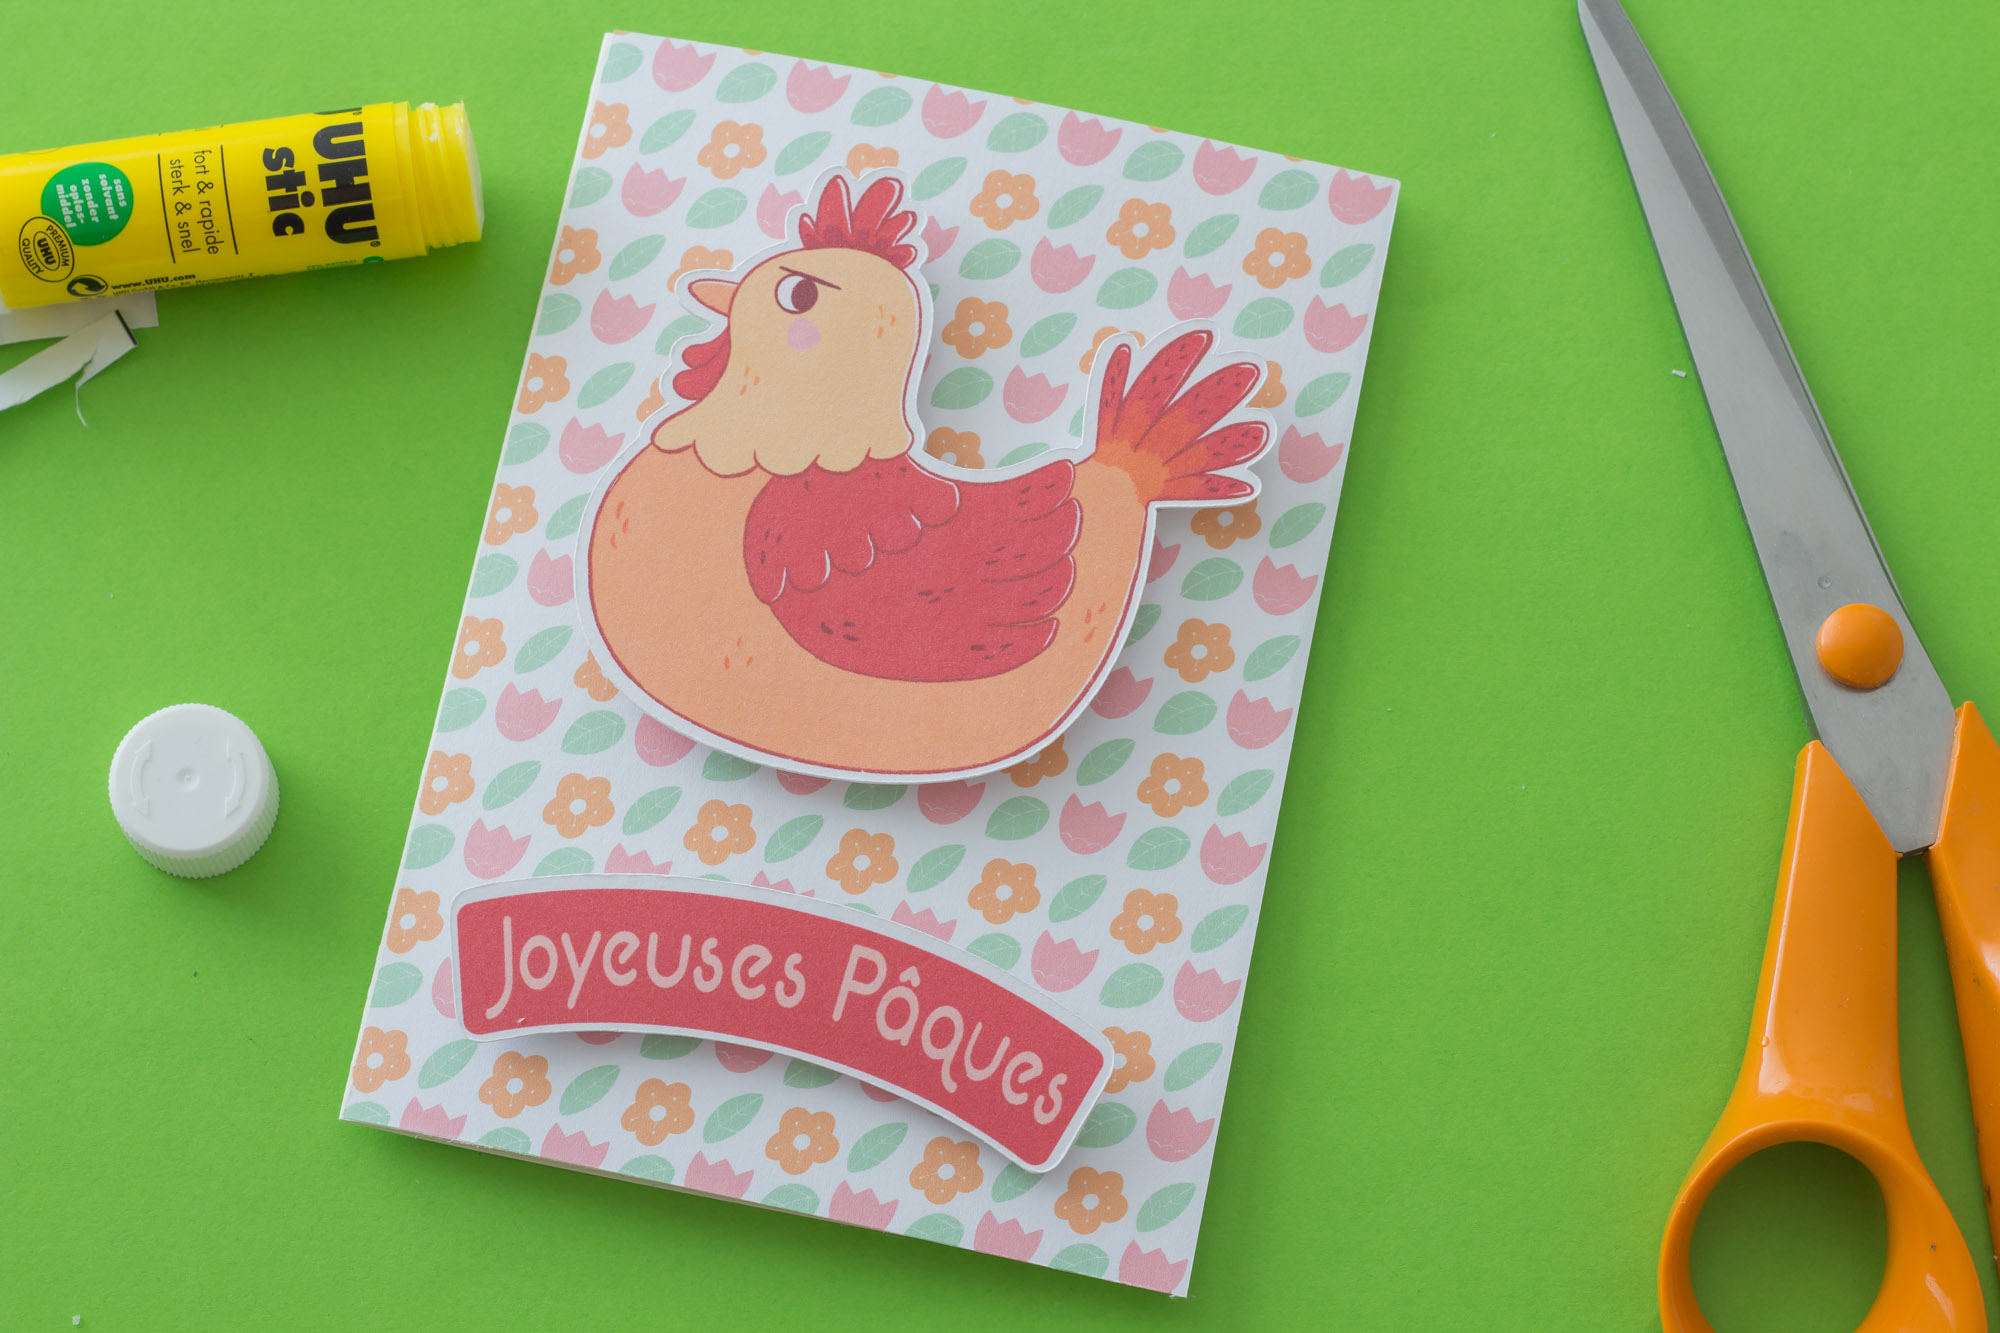
If you don’t have an Easter card, I suggest to download the second file: print the first two pages on heavy paper and the last one on printer paper. You can find the english, spanish, italian and german versions on the third page.
I chose to use the last page and glue it on a pre-cut card (I always have a stock of blank cards at home).

Glue pieces of thick cardboard (I used foam board) behind the chicken and the Happy Easter to create a relief card. You can also glue the elements to the card directly.

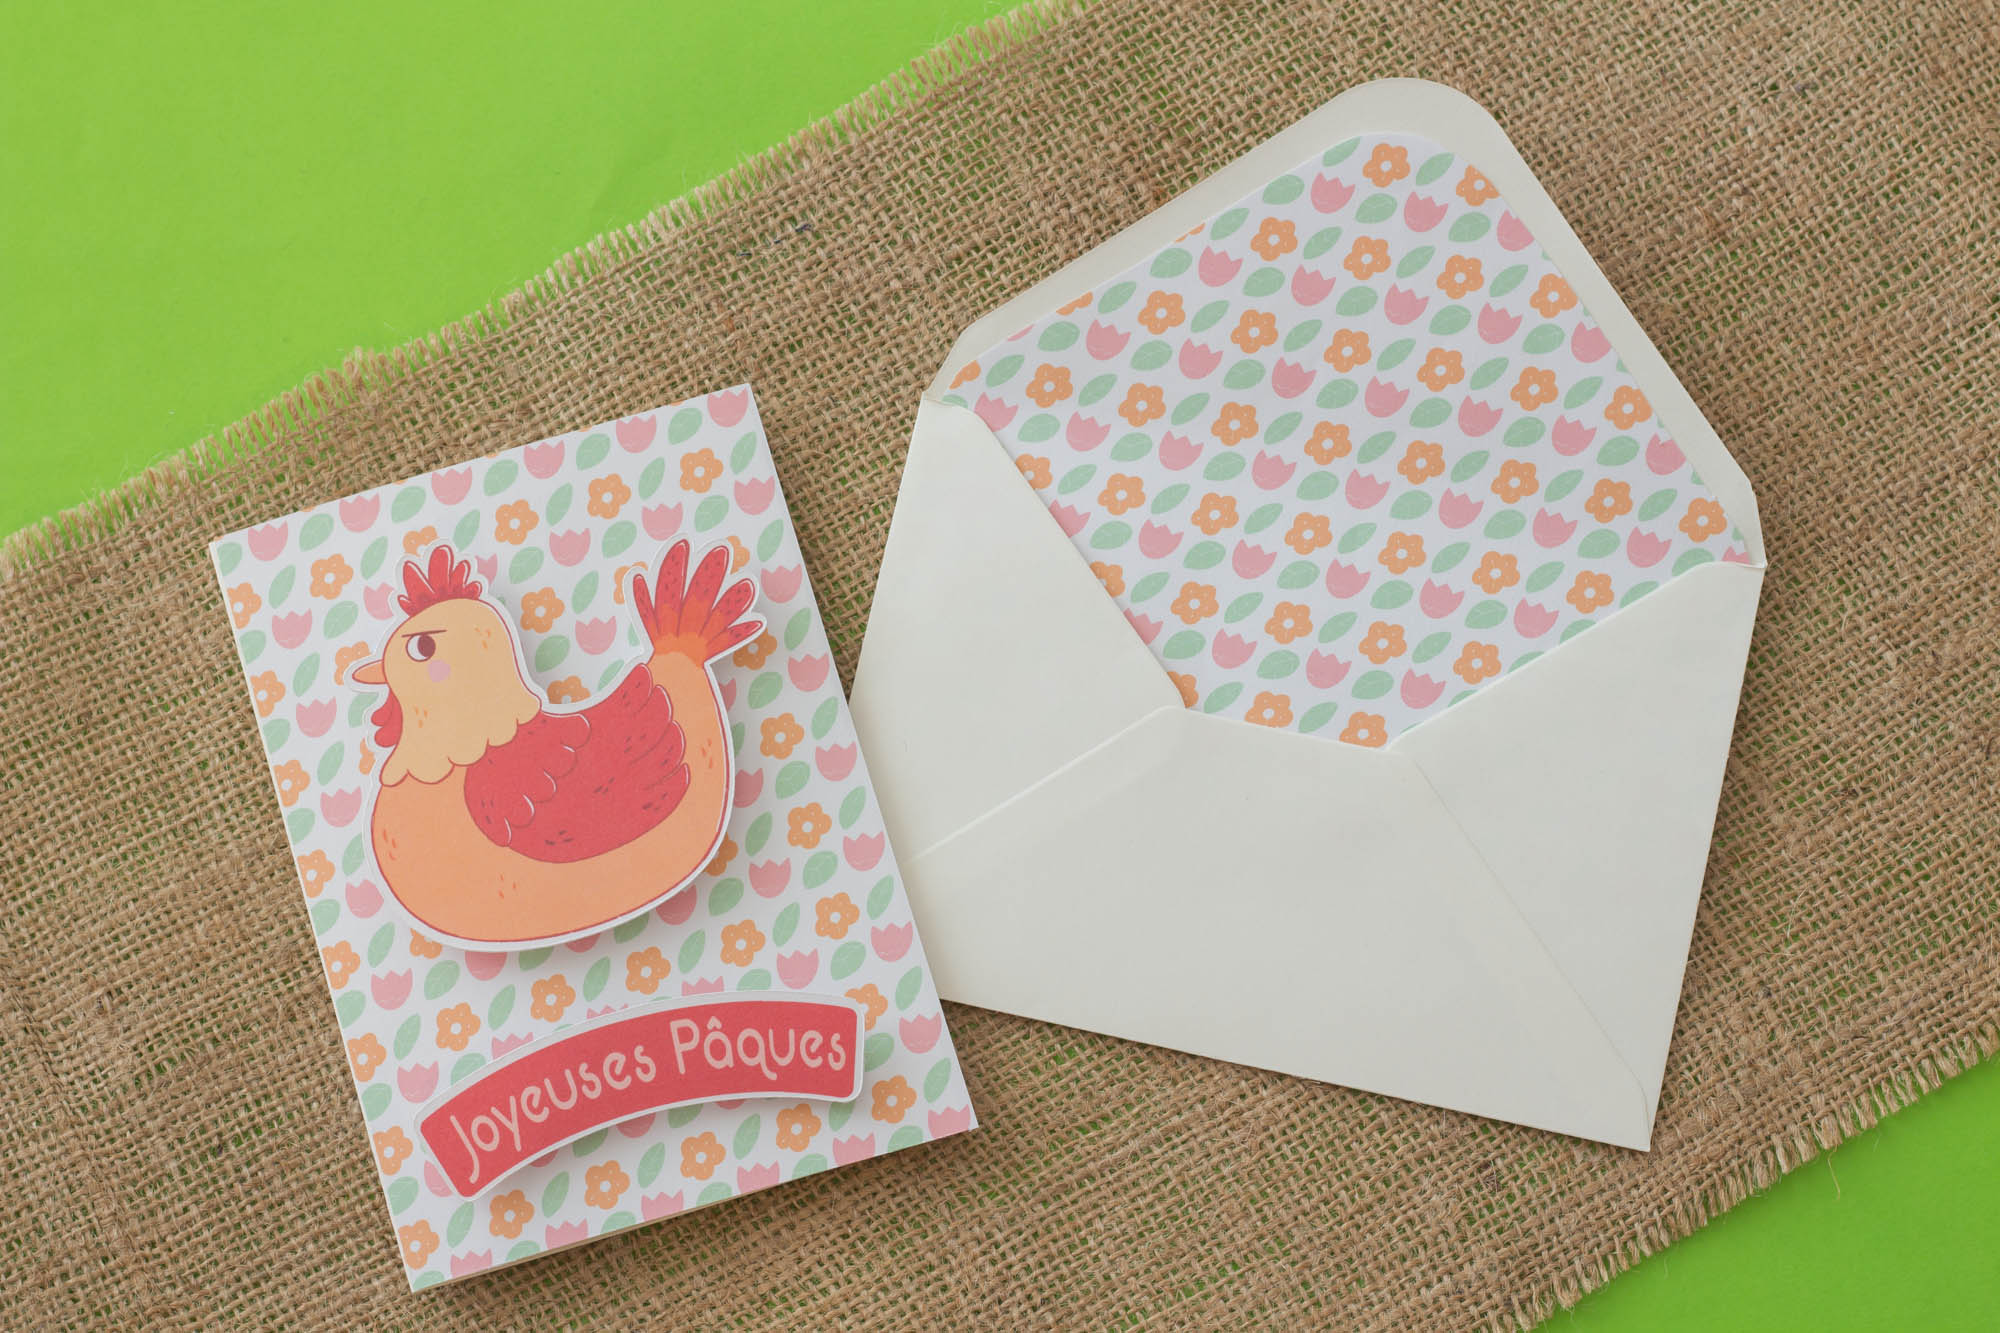
With the last page you can decorate the inside of an envelope.
Here’s a nice set with chicks to keep the kids or adults busy this Easter weekend.

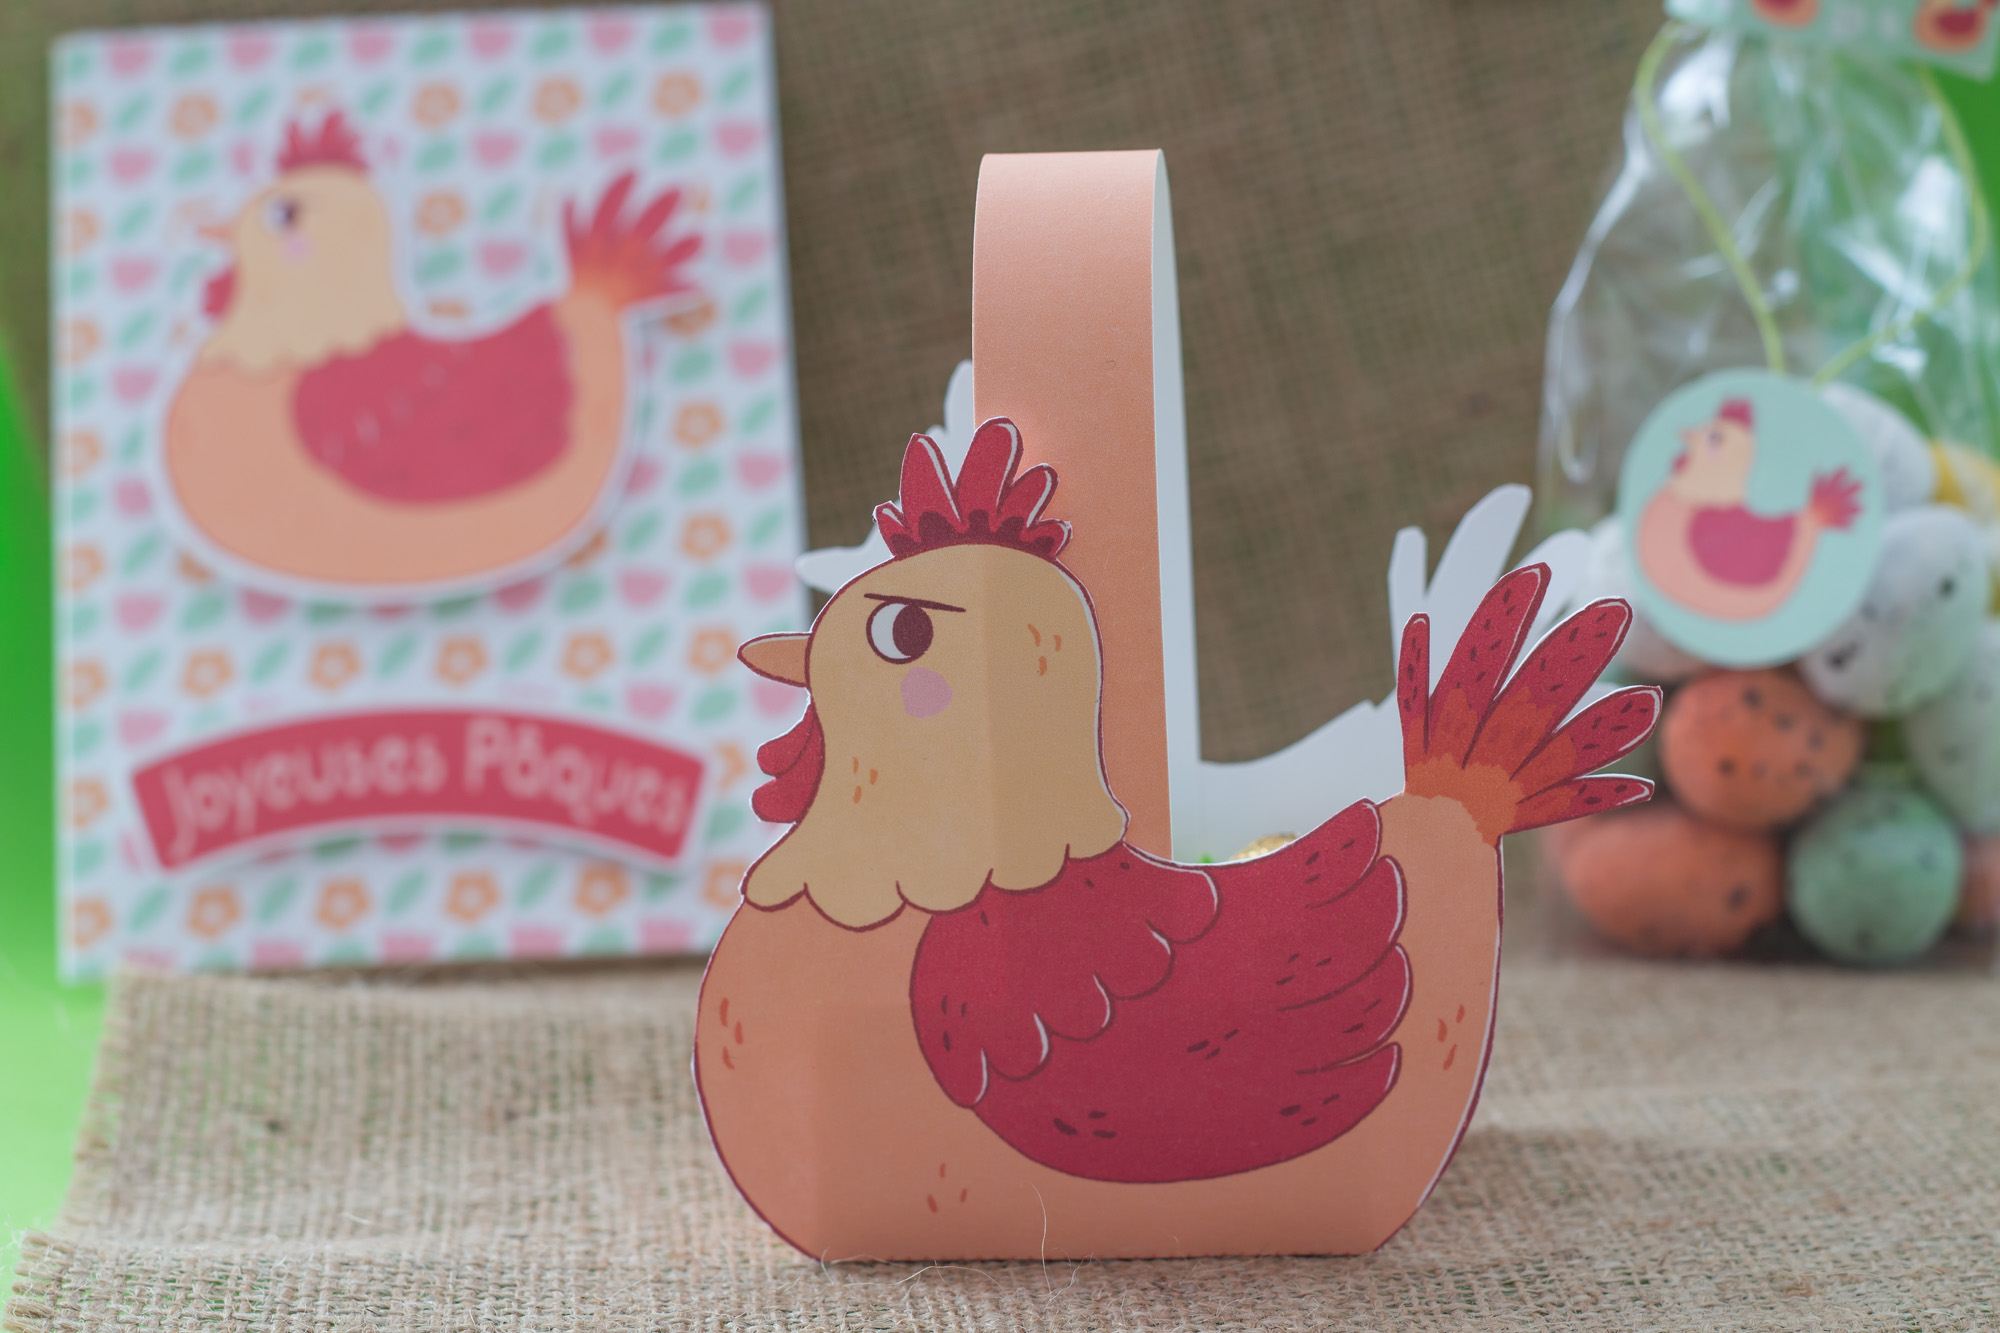
Chocolates are even better when the packaging is pretty.
Here are the free files as always. If you want to support my work, you can buy me a coffee by clicking on the image below. People who know me can tell how addicted I am to coffee!

Feel free to share on social networks. I love seeing my DIYs in your home. Don’t forget to tag me or add #doitwithmrlapin .
Leave me a comment, it’s always a pleasure to read you.😊
See you soon and Happy Easter!